
Do you want to add a navigation menu to your WordPress blog? Do you know that by default, you can drag and drop a menu, header menu, or dropdown (sub-menu) on your WordPress blog and website without writing any line of code?
In this article, my work is to show you how you can add a navigation menu to your WordPress-powered website or blog. If you’re interested, then let’s start.

What is a navigation menu?
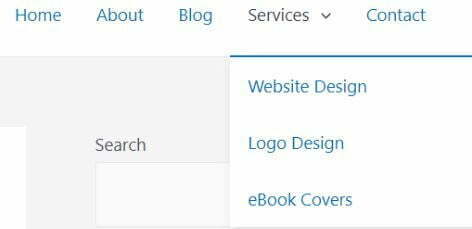
A feature that makes your blog user-friendly and makes them easily find what they need in a short time is a navigation menu. They are a list of links to the most important places on a website usually at the top appearing in a horizontal format (on a desktop) like this:

They help people find it easy to navigate your blog and website to help them find what they’re looking for.
Without writing any code, you can add menus and sub-menus and link your important pages, categories, tags, blog posts, or even links from another website, for example, your Facebook profile.
Depending on the theme you use, the location of your menu can be displayed in different places like a primary menu that appears on the top, a secondary menu, a footer menu, or a mobile navigation menu.
So let us start to explain how you can create a navigation menu in WordPress for your blog or website.
How to create a navigation menu on WordPress
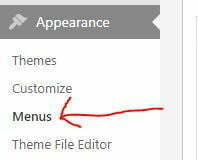
To create a navigation menu on a WordPress blog, log in to your WordPress dashboard and scroll down to the “Appearance” and click the “Menu”.
Then give a name for your menu, like “Top Navigation Menu” or “Home”, and click the ‘Create Menu’ button.
The next section will look like this:
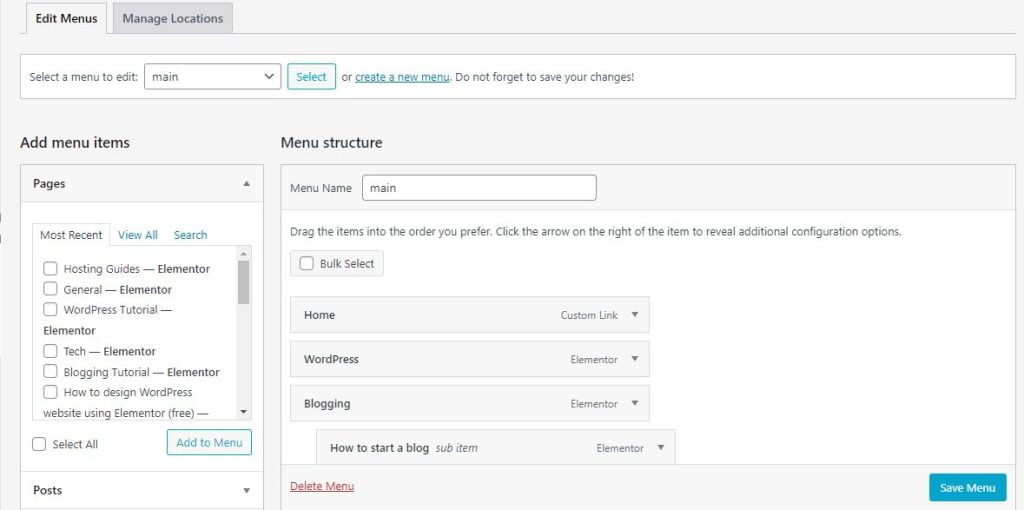
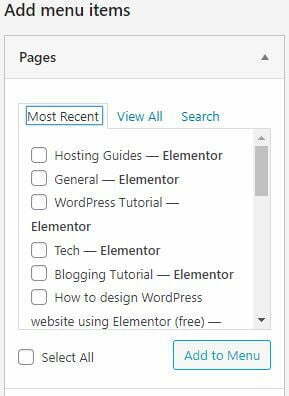
After that, choose the pages you want to add to the menu. To make something easy, you can allow WordPress to automatically add all new top-level pages, or you can manually select specific pages.
Click the ‘View All’ tab to see all your site’s pages. Now, you can click the box next to each of the pages you want to add to your menu. When satisfied, click on the ‘Add to Menu’ button.
Remember to select the location where you want to display the menu and click on the ‘Save Menu’ button. In this guide, let’s select “main Menu”.

The main menu is the menu we created which we’re presently using at the top header of our website at fastknowers.com.
After everything, remember to click on the ‘Save Menu’ button to save all your work.
Read our expert guides on how to install WordPress from your Cpanel and also a beginner’s guide on how to set up a WordPress blog.
How to add a sub-menu on WordPress
Sub-menu also called the drop-down menu, is a navigation menu with parent and child menu items. They help the visitors find it easy to navigate your website by helping them find all the child items that appear beneath a menu when they hover their cursor over a parent item.
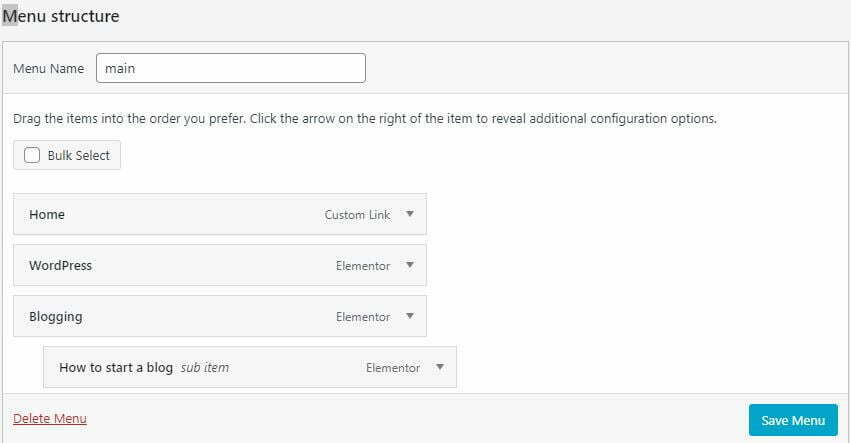
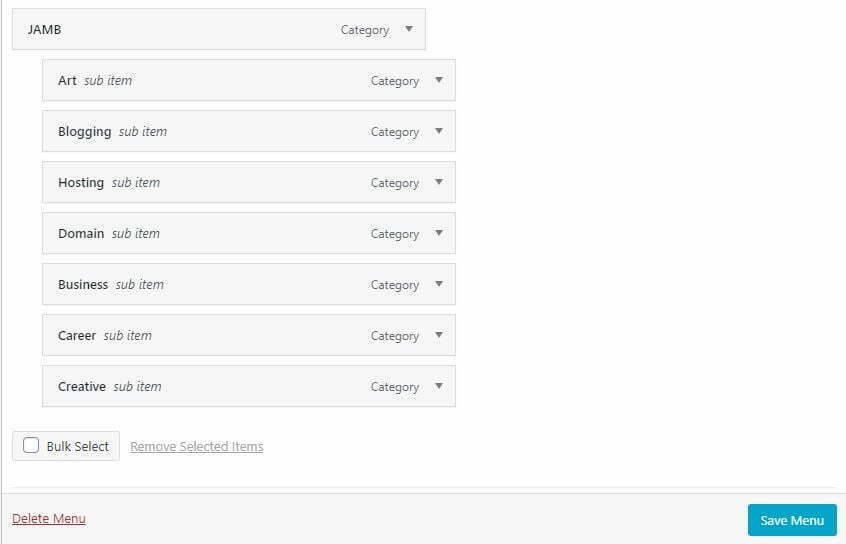
To create a sub-menu, drag an item below the parent item, and then drop it slightly to the right as we’ve done with the “WordPress” menu as shown below:
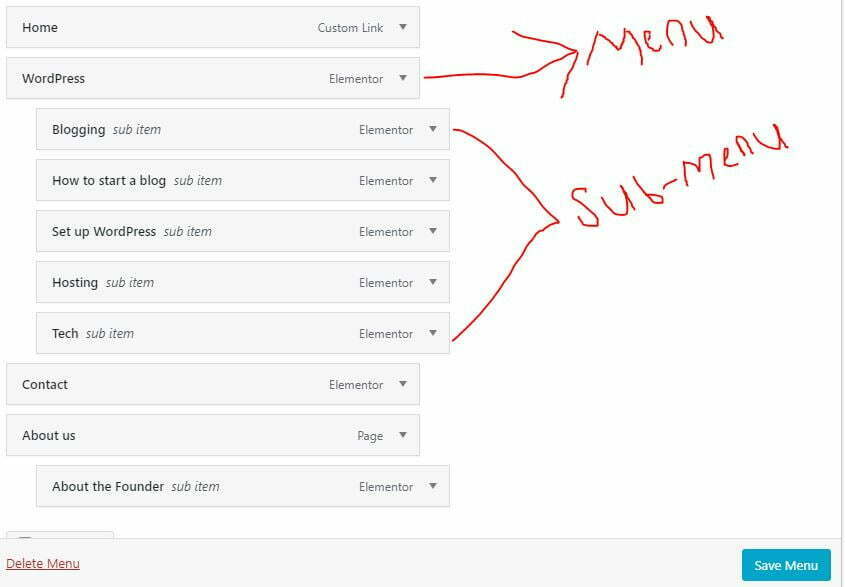
You can continuously add items to the dropdowns so that your menu should have a sub-menu.
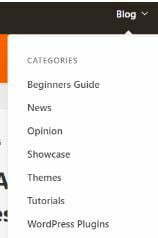
To make your blog easy to navigate, you may need to add your blog categories as a drop-down in the navigation menu.
Many bloggers add this type of navigation menu to their blog which links to their categories pages.
To easily add categories to your menu on your WordPress blog, click the Categories tab on the left side of the menus screen. You may also need to click the ‘View All’ tab to see all your categories.
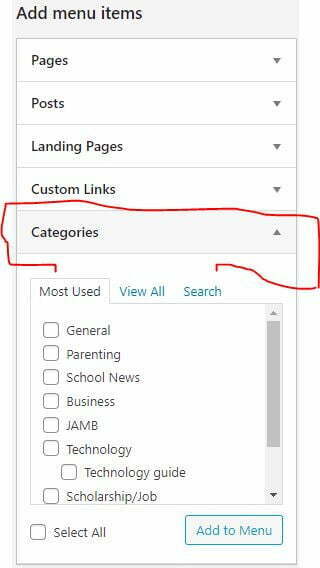
Simply select the categories you want to add to the menu, and then click the ‘Add to Menu’ button.
The selected categories will appear as regular menu items at the bottom of your menu where you can drag and drop them into any position you like.
After dragging and dropping to the best possible position of your choice, click the “Menu Menu”.
How to add a custom link on your navigation menu
As we’ve earlier said, it’s not only a category and pages you can add to your navigation menu on your WordPress blog.
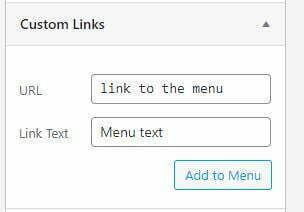
You can add custom links to your social media profile or other websites, for example, to your menu.
To do this, you need to use the ‘Custom Links’ tab on the Menu selection screen.
Follow the steps below and add the link along with the text you want to use in your menu and click the ‘Add to Menu’ button.
After adding pages or categories to your custom navigation menu, the name of that page or category will be automatically used as the menu name.
Change the menu name as you want it to appear by clicking on the downward arrow next to it.
Follow the step-by-step guide below to change the name of the menu item.
You can also use the drag-and-drop tool to move the menu item around by clicking the ‘Move down/up’ button.

How to add menus at the Sidebars and Footers on a WordPress blog
Just like the way you’ve added a navigation menu on the top bar of your WordPress blog, you can add it in any area where widgets can be placed like a sidebar or footer.
To do that, log in to your WordPress dashboard and navigate to Appearance » and click the “Widgets” page and then click the ‘+’ sign at the top and search for “menu”, then click the ‘Navigation Menu’ widget block to your sidebar as shown below.

Now, you can add a title for the widget and choose the correct menu from the ‘Select Menu’ dropdown list.
Click the ‘Update’ button when you’re done.

You can create a custom footer menu like this on your WordPress website using this method.

How to add menus on block editor via block editor in WordPress
Another simple method to add a navigation menu on a WordPress website is the block editor.
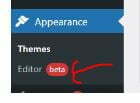
To add a navigational menu using the block editor, go to your WordPress dashboard, then go to the Appearance page, and click Editor.
Once you’ve clicked the “editor” button, go ahead and click on the navigational menu that appears at the top of the website header.
Next, you’ll see different options to customize the navigational menu block from the panel on your right which you can use to change the layout, edit the display settings, show a submenu on click, change the color of the text, background, and submenus, adjust the font size and lots more.
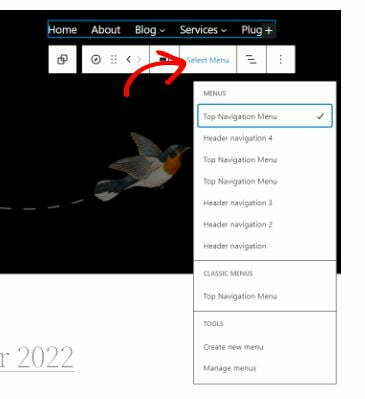
For more options such as changing the menu or creating a new one, you can click on the ‘Select Menu’ option as shown above to open a dropdown menu.
Once you have selected a menu, you can add more pages, blog posts, site logos, social icons, or even a search option to your menu.
To do that, simply click the ‘+’ sign to add a block to your navigational menu, and select an option that appears in the dropdown menu.

The best part about using the full site editor is that you can add a navigational menu block anywhere on your site.
When you’re done, you can preview the changes before clicking the ‘Save’ button at the top.

Conclusion
That is it! Hope this article has helped you know how you can add a navigation menu to your WordPress blog and website. You may also need to read our guide on how to do keyword research to know how to create high-quality SEO-optimized articles on your WordPress blog.
If you liked this article, please like our Facebook page and subscribe to our YouTube channel for more important updates. Remember to share this article with your friends and comment on it with any feedback you may have.


This is the best article I have ever read that explains step-by-step to WordPres issues. Keep up the good work sir.
How many menus should a fashion (clothing) website have? I am letting my employee handle it for me. He asked; how many menus he should add (both of us are confused 😔
Please can you show me how to create a footer menu? I thought you might talk about it but you didn’t. I like to know how to design a footer menu for my portfolio website.
Thank you for this guide. Please is linking to another website from your navigation menu of your website good in terms of SEO? Example, I want to link to the company that partners with my website for sponsorship.
I need a reply as an SEO expert you are 😊
Thank you for this guide. I liked how you have deeply elaborated everything in detail. Navigation menu is important for website (blog) because it helps in internal link building which is good for SEO.
I followed one guide online to redesign my website and it ended up being not responsive, please can you create a guide on how to make it responsive?