
Have you bought a domain and web hosting from different companies and searched for how you can configure your domain DNS server?
In this step-by-step guide, we shall show you how you can properly configure your blog when you’ve bought a domain and hosting from different companies.
We always recommend beginners buy their domain name and web hosting from the same company for no technical setup. However, some factors such as the unavailability of domain name extensions.
Why changing a domain DNS server
The reason why people change a domain DNS server is when they have a reliable web hosting company and have got an unexpired domain name.
You can, for example, buy a domain name from NameCheap and host it on FastComet.
The best example however is when you want to have a certain domain name extension like your country-code domain name extension like .ng, .ke, .gh, etc., just buy a domain but not hosting and host it with any company of your choice.
You can see our guide on how to properly start a WordPress blog.
How to connect a domain DNS server with web hosting
Creating a website requires two things; domain and web hosting. Most web host companies offer free domains so they can keep them together at the same company or separate them
To connect your domain nameserver with your web hosting when you have bought them from different companies, two steps are involved.
- Know the nameserver of your web hosting and
- Change the nameserver of your domain name.
After you have bought a domain name, you need to point its DNS to the nameservers of your web hosting. Some companies do this for their customers.
You may read our expert step-by-step on how to transfer your website from wordpress.com to wordpress.org.
Note that this guide is not exclusive to Namecheap alone. You can follow it to connect your domain nameserver no matter which web hosting company you want.
To show you this guide in such a way that you can easily understand, we’re going to use the Namecheap account of one of our friends.
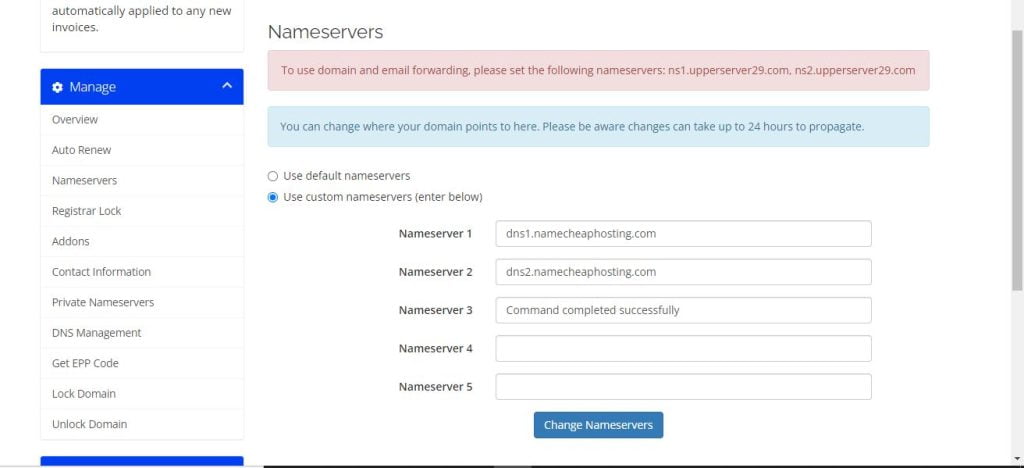
What we’re going to do is replace our domain nameserver with Namecheap DNS nameserver which is dns1.namecheaphosting.com and dns2.namecheaphosting.com).
1. Know your Web hosting nameserver
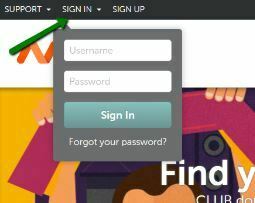
1) To do that, let’s sign into our friend NameCheap web host account
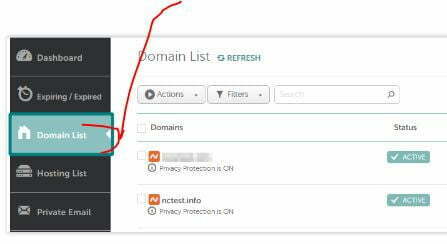
2) Select the “Domain List” tab from the left sidebar and click the Manage button next to your domain in the list:
3. In the next step, find the “Nameservers” section and select the “Namecheap Web Hosting DNS” from the drop-down menu. Now, you can save the changes by opening the checkmark icon as shown below.
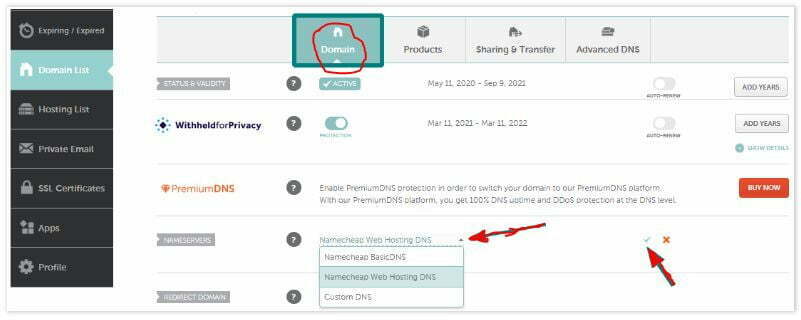
Now, you can enter your domain nameservers by selecting Custom DNS from the drop-down menu.
In the next step, we will show you how to know your domain nameserver and how you can change it.
2. Change your domain nameserver
To know how to change your default domain nameserver, login into your profile and navigate to the “domain” (depending on the company you bought your domain from)
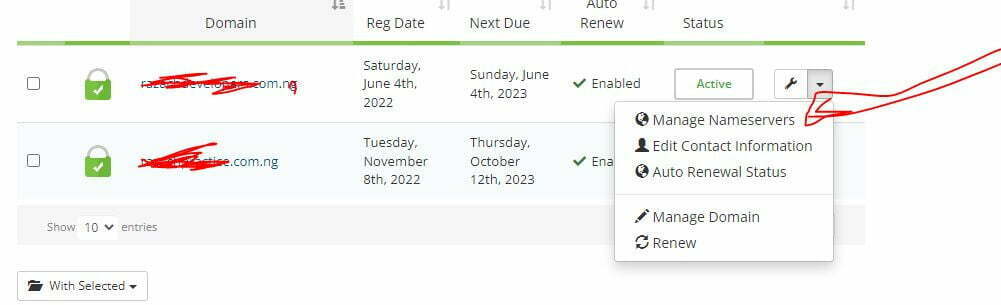
Now, click “Manage Nameservers” to be able to see and edit or change the nameserver of your domain with that of your web hosting.
The domain used in the screenshot above was bought from Upperlink, a Nigerian web hosting registrar in order to get a .ng domain name extension, hence we didn’t buy web hosting from them since we’ve already got a web hosting from one of the world’s most used web hosting, FastComet.
What we did now is simply change its Nameserver 1 and Nameserver 2 with our respective Namecheap’s Nameserver.
After changing it, then click the “Change Nameservers” button.
Before you can change the DNS nameservers of your domain to any web hosting, you need to add that domain as an Addon to the cPanel account of your web hosting.
Feel free to see our guide on how to add an add-on domain name to your web hosting via Cpanel step-by-step.
You need to set these nameservers as Custom for your domain.
Note that once the nameservers have changed, your website will be available. Sometimes, it may undergo propagation which can take up to 24 hours.
Conclusion
Hope this article has shown you how to connect a domain DNS server to web hosting. Please like our Facebook page or subscribe to our newsletter for more important updates.
Also, comment with any feedback you may have via the comment section.

Thank you for the guide. I really appreciate. It has really helped me to connect my domain to the dns.